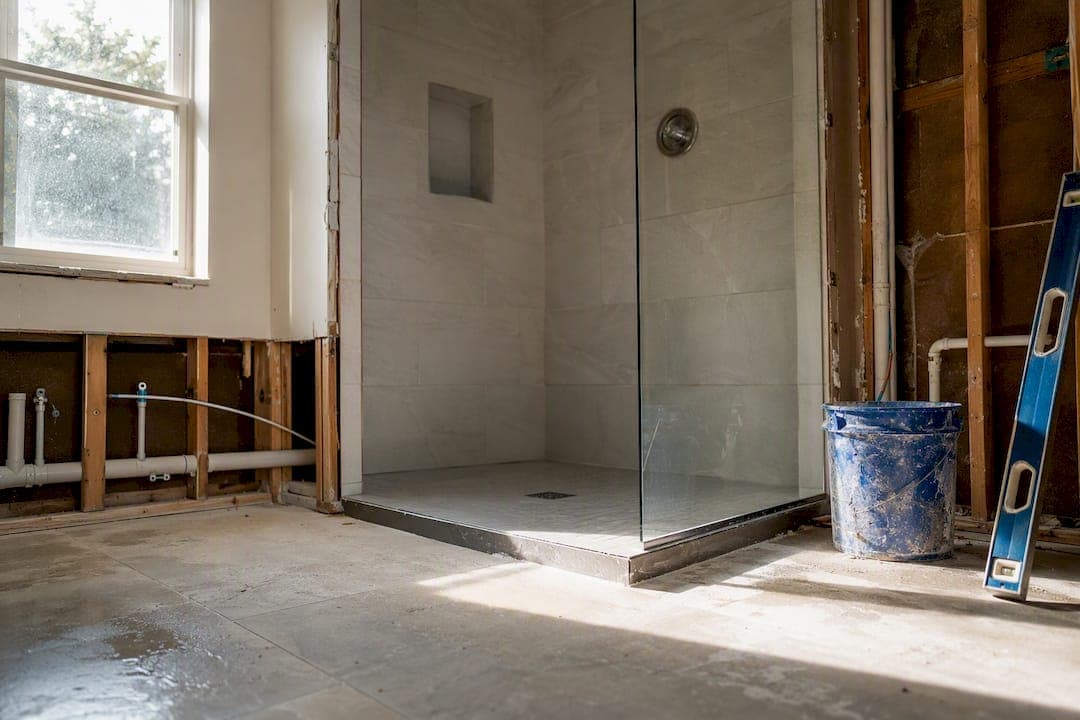
Converting a bathtub into a shower is feasible for most bathrooms, and the vast majority of homeowners can complete the switch without moving walls or rebuilding the room. The exceptions are unusual drain layouts, structural issues under the tub, or a curbless design that demands extra floor framing. Three approaches cover almost every project:
- Prefab insert — drops into the existing tub footprint, cheapest and fastest, limited style options.
- Multi-piece shower kit — panels assembled on site, moderate cost, more layout flexibility than a one-piece insert.
- Full custom tile or curbless build — highest cost and longest timeline, but the most durable and the only route to a true walk-in, barrier-free design.
Expect roughly $3,000 on the low end and $10,000 or more for a premium curbless build, with national cost bands reflecting everything in between. Timelines run from a few days to several weeks. If your project involves moving a drain or building a curbless entry, start with a professional site assessment before you pick finishes.
Key Takeaways
A successful tub to shower conversion depends on matching your drain layout and accessibility goals to the right approach, budgeting for hidden damage, and hiring licensed trades for plumbing and waterproofing work.
| Point | Details |
|---|---|
| Pick the right approach | Prefab inserts and kits keep costs low when the drain stays put; custom tile is required for curbless designs. |
| Budget in tiers | Basic conversions start near $3,000, while premium curbless builds can reach $10,000 or more. |
| Protect against leaks | Require a 24-hour flood test and a bonded membrane or proven pan system before tile installation. |
| Know when to hire out | DIY works for tub removal and prefab installs, but drain moves and waterproofing need licensed pros. |
| Work with one accountable team | Buildwithng offers free estimates and manages design, permits, and inspections under a workmanship guarantee. |
Table of Contents
- What Are the Main Tub to Shower Conversion Options?
- How Much Does a Tub to Shower Remodel Cost, and How Long Does It Take?
- What Happens During a Tub to Shower Conversion Project?
- Should You DIY Your Shower Conversion or Hire a Pro?
- What Design and Accessibility Features Should You Prioritize?
- What Permits Do You Need, and What Pitfalls Should You Avoid?
- How Does a Design-Build Contractor Handle a Conversion?
- Get a Free Estimate for Your Bathroom Conversion
- Sources
What Are the Main Tub to Shower Conversion Options?
The right approach depends on your existing plumbing, your budget, and whether accessibility is the goal. A prefab insert slides into the same footprint as your old tub and reuses the existing rough-in plumbing, which keeps costs down and installation quick. It's a strong fit when you just want a shower where the tub used to be, with no layout changes.
Multi-piece shower kits offer more design flexibility since panels are assembled on site rather than dropped in as one unit, but they still work best when the drain stays put. Prefabricated surrounds are the fastest and cheapest route, often installed in one to three days when rough-in plumbing doesn't change.
Custom tile with a mortar pan or pre-sloped pan system is the choice for curbless entries, oversized tile, or a shower built to last decades rather than years. It costs more and takes longer, but it's the only path to a true zero-threshold design.
- Curbless entries improve accessibility but usually require extra subfloor framing and a sloped approach to the drain.
- If your existing shower or tub surround just needs new hardware or a fresh finish, a fixture upgrade may solve the problem without a full conversion.
How Much Does a Tub to Shower Remodel Cost, and How Long Does It Take?
Budget in three tiers. A basic conversion using a prefab insert or kit typically runs toward the lower end of the national range, covering the unit, basic fixtures, and standard labor. A mid-range project adds tile work, a better fixture package, and possibly a glass door instead of a curtain. A premium custom build, especially anything curbless with large-format tile and frameless glass, lands at the top of that range and beyond.
Four factors drive most of the cost swing:
- Drain relocation — moving the drain means new plumbing runs and often adds materially to both labor and timeline.
- Curbless subfloor work — building down to create a zero-threshold entry requires framing changes most standard remodels skip.
- Tile and labor — large-format tile, herringbone patterns, and mosaic accents all add install hours.
- Glass enclosures and fixture packages — frameless glass and thermostatic valve systems cost more than standard sliding doors and single-handle faucets.
Pro Tip: Set aside a contingency of at least 10 to 15 percent of your budget for hidden damage. Nobody knows what's under that tub until it's out.
Timelines follow the same logic. A prefab insert replacement can wrap up in days, while a full tile rebuild often takes several weeks once you factor in permitting and material lead times for custom tile or glass.
What Happens During a Tub to Shower Conversion Project?
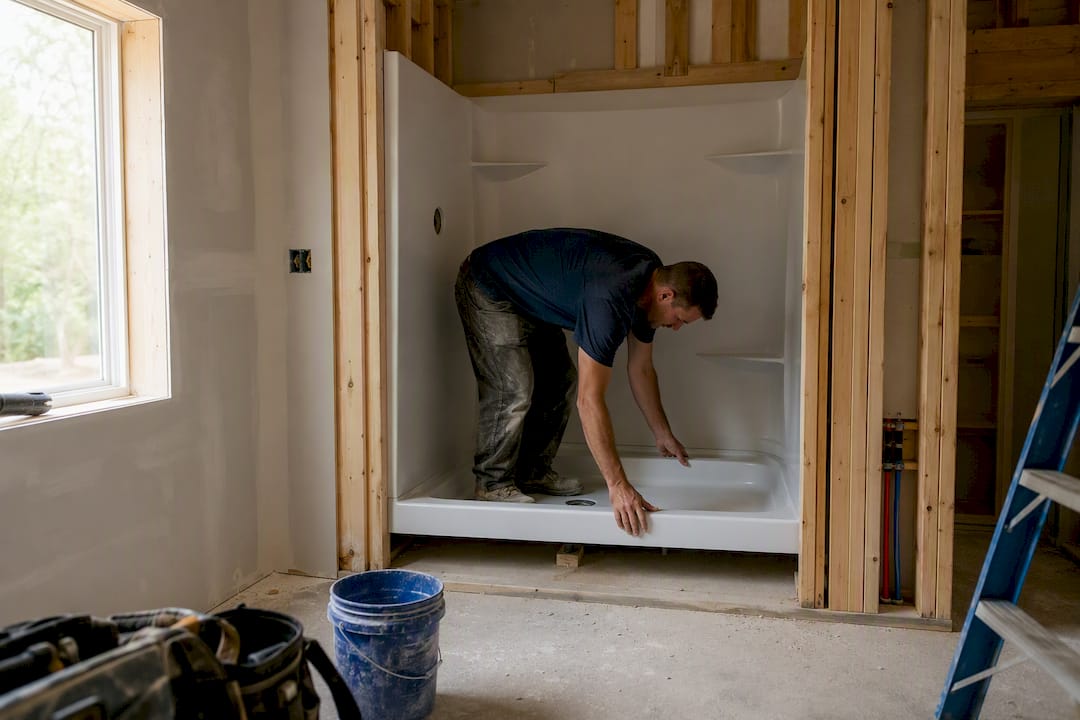
A conversion moves through five distinct phases, and each one has its own deliverables and potential delays.
- Design and selection. Before demo starts, finalize entry type (curbless or curbed), drain approach, tile, and fixtures. Locking these decisions early avoids costly mid-project change orders and keeps material lead times from stalling the schedule.
- Demolition. The old tub, surround, and sometimes the subfloor come out. This is also when hidden problems, like water damage or rot behind the tub, surface. A good contractor documents any surprises before pricing changes.
- Plumbing rough-in. If the drain stays in place, this phase is quick. If it's moving, or if you're going curbless, this is where licensed plumbing work and inspection sign-off matter most.
- Waterproofing and pan installation. This step determines whether your shower lasts twenty years or leaks within two. Options include a traditional liner, a bonded membrane like KERDI, or a pre-sloped pan system. Linear drains paired with a single-slope floor can make curbless designs possible without relocating the existing drain. Reputable contractors flood-test the pan for 24 hours before covering it with tile.
- Tile, fixtures, glass, and final inspection. Once waterproofing passes, tile or panel installation, fixture mounting, and glass measurement and install finish the job. A final inspection confirms code compliance and closes out the permit.
Pro Tip: Ask your contractor to photograph the flood test and file it with your permit documentation. If a leak ever shows up years later, that record protects you.
Should You DIY Your Shower Conversion or Hire a Pro?
Some tasks are genuinely within reach for a capable DIYer: removing the old tub, installing a prefab surround, or swapping fixtures when the plumbing layout doesn't change. DIY makes sense for jobs that don't touch existing plumbing or waterproofing — but three situations should send you straight to a licensed professional:
- Moving the drain. This touches your home's plumbing system and typically requires a permit and inspection.
- Curbless plumbing rework. Sloping a subfloor and routing a linear drain correctly is not a weekend project.
- Waterproofing you're not certain about. A failed membrane behind tile can rot framing for years before anyone notices.
If you're hiring out, vet contractors with a short checklist: verify their license and insurance, ask for recent references, get a written scope of work, confirm who pulls permits, and clarify payment milestones tied to completed phases, not just dates. When comparing bids, build a line-item checklist covering demo, plumbing, waterproofing method, tile, fixtures, and glass, so you're comparing the same scope rather than just the bottom-line number.
What Design and Accessibility Features Should You Prioritize?
The features that matter most for daily use and long-term value are curbless or low-threshold entry, frameless glass, linear drains, a built-in bench, and a recessed niche for shampoo and soap. These design choices materially improve accessibility and everyday usability, though a curbless entry typically requires extra subfloor work to pull off correctly.
- Choose porcelain or large-format tile for lower maintenance and fewer grout lines to clean.
- Ask for a thermostatic valve and a handheld sprayer on a slide bar for flexible, accessible use.
- Request grab-bar blocking during framing, even if you don't install bars right away.
- Confirm your electrician is adding proper lighting and a bathroom-rated exhaust fan sized for the new wet area.
What Permits Do You Need, and What Pitfalls Should You Avoid?
Most jurisdictions require a permit when you're relocating a drain, altering structural framing for a curbless entry, or adding electrical work like new lighting or a fan. Skipping this step can create resale headaches down the road.
Waterproofing failure is the costliest long-term risk in any conversion. Insist on a documented 24-hour flood test before tile goes up, and specify a bonded membrane or a proven pan system in your contract.
- Budget a contingency for hidden damage found once the tub comes out.
- Require your contractor to document any scope change with photos and a signed change order.
- Keep copies of permit approvals, inspection sign-offs, and flood-test records for warranty and resale purposes. If resale matters, keeping at least one tub elsewhere in the home helps preserve broader buyer appeal.
How Does a Design-Build Contractor Handle a Conversion?
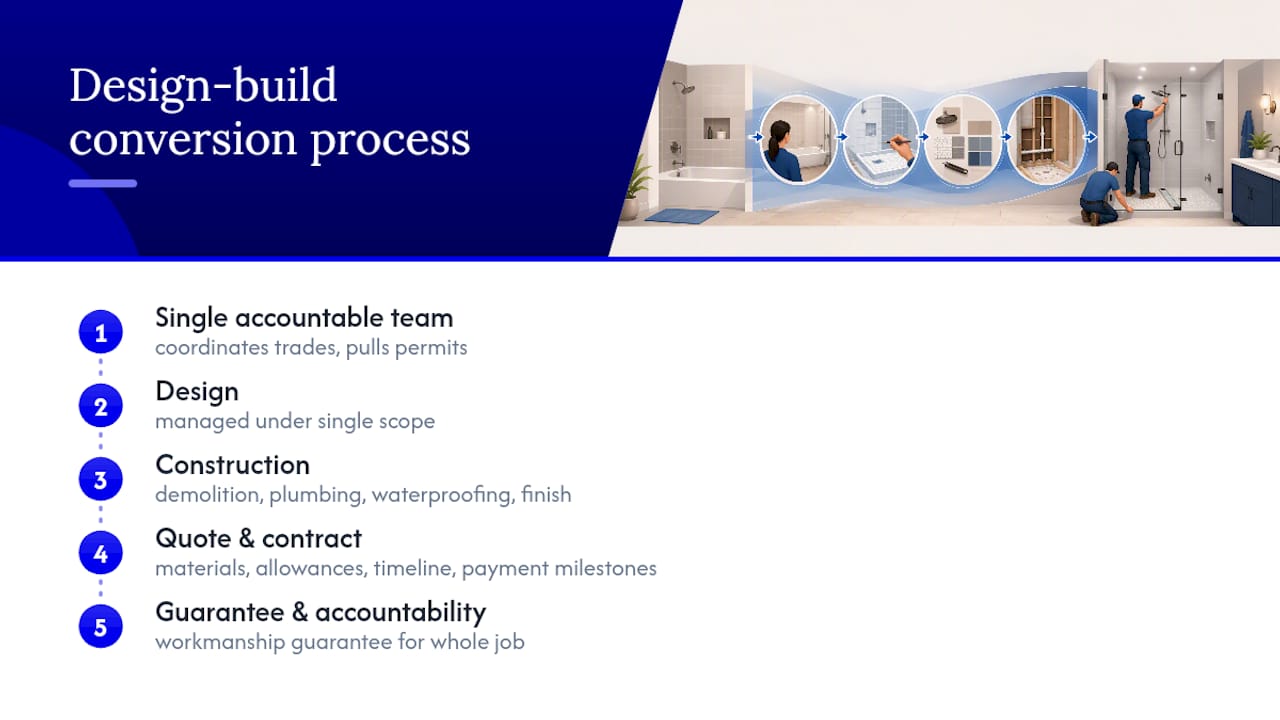
A single accountable team changes how a conversion feels from start to finish. Instead of juggling a plumber, tile setter, and glass installer separately, a design-build contractor coordinates every trade, pulls permits, and documents each inspection along the way.
Buildwithng builds every estimate around that same principle: one team managing design, demolition, plumbing, waterproofing, and finish work under a single scope. A professional quote should spell out materials, fixture allowances, timeline, and payment milestones tied to completed phases, backed by a workmanship guarantee that holds the whole job accountable, not just one piece of it.
Get a Free Estimate for Your Bathroom Conversion
If you've read this far, you already know the details that separate a conversion that holds up for decades from one that leaks behind the tile in three years. That's exactly where a design-build team pays for itself instead of leaving you to coordinate a plumber, a tile setter, and a glass installer on your own schedule.

Buildwithng manages tub to shower conversions in Cape Coral, Fort Myers, Naples, Bonita Springs, and Estero from design through final inspection, with one team accountable for permits, plumbing, waterproofing, and finish work. That single point of accountability matters most on curbless builds and drain relocations, where a documented flood test and a coordinated schedule are the difference between a smooth project and a costly redo. Every estimate is free and comes with no obligation to move forward. If you're ready to see real numbers for your bathroom, request your free estimate and get a written scope before you commit to anything.
Sources
- Tub to Shower Conversion: Complete Process Guide - Patriot Bath Remodeling
- Best tub-to-shower conversion kits | BobVila
- Tub-to-shower conversions have become increasingly popular | Oatey
- Home-remodel-ideas